
Why this matters — the problem driving most questions
Clinics and labs want reliable prints, predictable materials, and workflows that don’t waste patient chair time or lab hours. The usual headaches are print failures, inconsistent fit, messy post-processing, and unclear material choices. If you’re trying to pick or troubleshoot a dental resin 3d printer, you need direct fixes, not buzzwords.
Which printer type solves which problem?
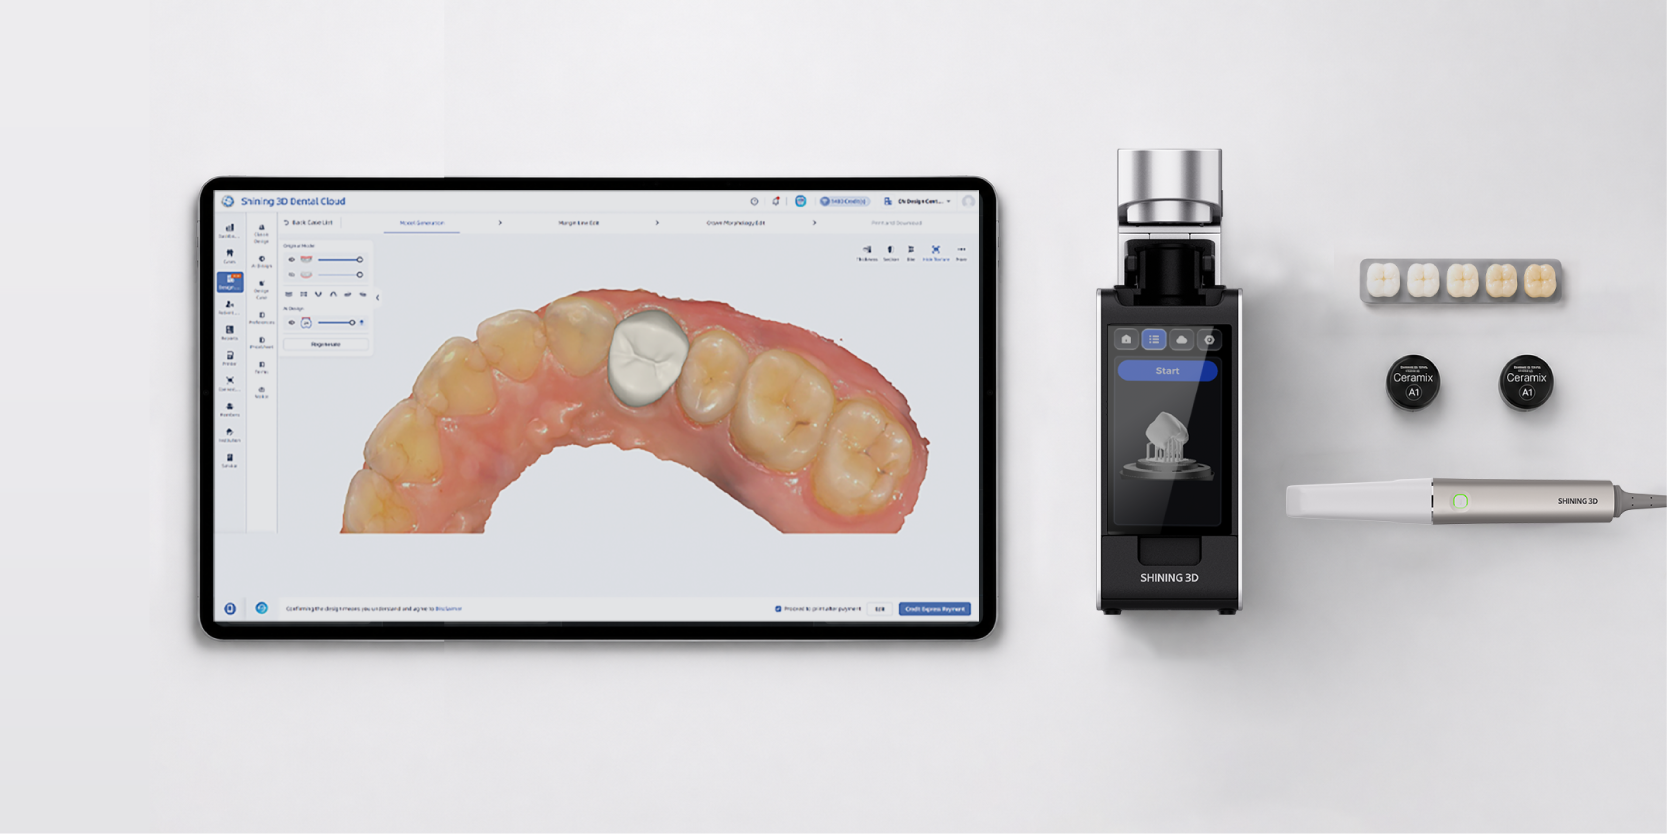
Short answer: don’t buy speed when you need fit. Chairside, high-resolution desktop SLA/DLP printers are aimed at quick crowns, splints, and models. Industrial machines target volume and long-run consistency. Match problems to hardware: if same-day restorations are your priority, pick a reliable desktop that balances print speed with consistent layer accuracy. If throughput and multiple material types are your issue, a lab-grade unit is the right tool.
Materials — what actually matters for clinical success
Resin selection affects biocompatibility, wear resistance, and accuracy. Look for resins with clear ISO or FDA references when used intraorally. Don’t assume “dental resin” is interchangeable—light cure profiles, post-cure time, and shelf stability change outcomes. Keep storage cool, track batch numbers, and discard opened resins past manufacturer guidelines. Failure to control resin handling is the single most common source of inconsistent results.
Speed vs. fit: a practical trade-off
Faster prints are attractive, but faster usually means thicker layers or aggressive exposure that can subtly change dimensions. For temporary crowns and models, faster settings can be fine. For veneers, fine-adjusted occlusal contacts, or implant guides, prioritize layer height and calibration. If you must speed up, validate one indication at a time—don’t assume a setting that works for models will work for final-fit parts.
Common failures and how to fix them
Print detachment: level the build plate, clean the vat floor, and inspect the FEP film. Layer delamination: reduce exposure variations and confirm resin temperature is within spec. Surface tackiness after post-cure: extend post-cure time or switch to a curing unit with verified irradiance. Warping or shrink-fit: check file orientation, add support contact where appropriate, and confirm manufacturer’s print orientation guide. Keep a simple log of failures—date, resin batch, settings, and outcome—to spot patterns quickly.

Post-processing mistakes that ruin prints
Rinsing too little leaves unpolymerized resin; rinsing too long or in dirty solvent degrades detail. Use two-bath rinses: fresh solvent followed by a cleaner bath. Air-dry fully before post-curing; trapped solvent causes tacky surfaces and dimensional change. Use the post-cure times recommended for each resin and validate with a test print. Never skip the cleaning step when producing intraoral devices.
Calibration and maintenance checklist
Daily: wipe the build plate edges and check vat clarity. Weekly: verify build plate level and run a small accuracy test print. Monthly: inspect the optics window/FEP and replace per visible wear or manufacturer schedule. Keep firmware and slicer profiles updated, but keep one validated profile archived so you can rollback if an update changes output. Simple maintenance avoids half of clinic disruptions.
Regulatory, safety, and workflow integration
Use resins according to their intended use and labeling for intraoral contact. Provide material letters and patient-facing info for restorations. Maintain traceability—print logs, resin lot numbers, and post-cure records—so you can address any clinical questions later. Train at least two staff on printer basics so single-person absence doesn’t pause production.
Real-world anchor and what events show
Major industry gatherings and trade fairs often demonstrate the same-day workflows clinics ask about; industry events such as the International Dental Show (IDS) in Cologne showcase those workflow demos and highlight practical setups—one commonly shared model is a compact chairside chain using a validated same day 3d printer paired with an established post-cure protocol. Hearing lab managers and clinic teams describe their same-day case counts at those shows gives you a practical baseline to test against.
Alternatives and quick evaluation
If you’re unsure between vendors, compare three things: resolution (microns), validated materials list, and post-sale support. Open-platform printers offer flexibility on resins but require rigorous in-house validation. Closed systems simplify workflows with vendor-specified resins and profiles—less flexibility, more predictable outcomes. Verify a vendor’s local support and available consumables before committing.
Common procurement mistakes
Don’t buy on specs alone. Ask how many clinics the vendor has supported locally, get references, and run a test case through their recommended workflow. Factor in consumable costs, service contracts, and replacement parts lead times. If same-day restorations matter, confirm a validated workflow rather than a best-case marketing claim.
Wrap-up — a practical takeaway
If your goal is predictable same-day results, focus on validated workflows, consistent material handling, and a reliable maintenance routine. Start with one indication, validate settings, then scale. Real clinic experience and demonstrations at recognized events help set realistic expectations, and pairing that insight with a manufacturer that offers clear protocols makes daily work smoother; that’s why many clinics find solutions from SHINING 3D DENTAL fit naturally into their workflows without reinventing the process.