
Introduction — a familiar bench-top scene
I was cleaning up a messy print area the other day and my colleague sneezed twice in a row — typical lah, but it made us stop. The room smelled like heated PLA and there were tiny particles floating around; I remembered that a proper 3D printer fume extractor can cut those risks sharply. Recent studies show that hobby and small-scale AM setups can emit VOCs and PM2.5 at levels people wouldn’t expect, especially in unventilated rooms (true story). So I asked: how do we keep our prints clean without turning the workspace into an engineering lab? I’ll share what I’ve learned from testing units, swapping filters, and living with the noise — practical, not preachy. Expect talk about airflow, filtration efficiency, HEPA stages and what really matters when you’re picking kit for a cramped workshop. Let’s move on and look under the hood — and yes, I’ll make it simple so you can act fast.
Part 2 — Why old-school solutions still frustrate users
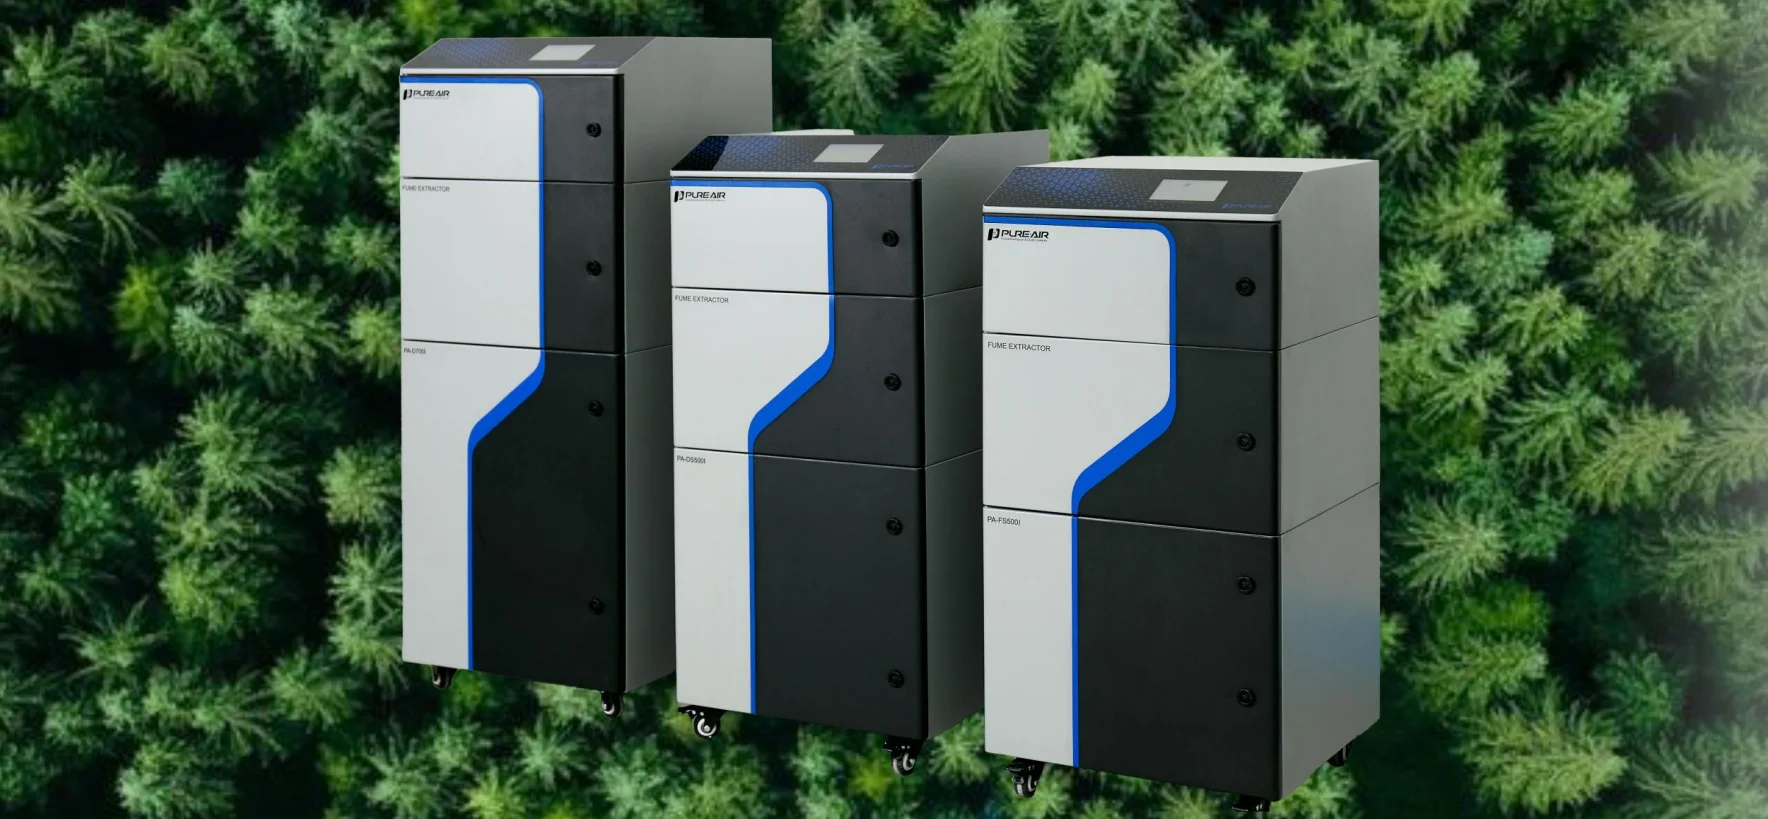
3D printer dust collector systems were often sold as a quick fix: slap on a fan, add a generic filter, job done. In practice, that approach leaves gaps. Filters clog fast when the filtration efficiency isn’t matched to particulate size; activated carbon packs that are too small fail at VOC adsorption; and cheap fans don’t provide consistent airflow, so some prints get ventilated while others don’t. I’ve seen people replace filters monthly because they underestimated dust loading — frustration mounts, confidence drops. Look, it’s simpler than you think: poor sealing, wrong filter media, and mismatched fan curves are the three common flaws. These problems show up as lingering smell, visible haze, or worse, unexplained headaches. If you care about maintenance time, total cost of ownership, and reproducible print quality, those flaws matter. We should be asking whether the solution balances capture (near-field extraction) with filtration (HEPA + carbon) and monitoring (basic sensor feedback).
So where does the user pain hide?
Mostly in the small details: the filter change schedule nobody keeps, the loud unit that runs only at full blast, and the baffling lack of simple status indicators. I get annoyed by that — and I bet you would too.
Part 3 — New principles for better extractors and what to test next
Moving forward, I focus on a few core principles: matched system design, modular filtration, and sensor-driven control. A modern design starts with Computational Fluid Dynamics (CFD) to guide intake nozzle placement; then it pairs a multi-stage filter train (pre-filter, HEPA, activated carbon) sized to the expected particulate and VOC load. Add sensor fusion — combining particle counters and VOC sensors — to adjust fan speed automatically. That’s how you keep noise down and efficiency up. I’ve tested systems that do this and noticed clear gains in air quality and user satisfaction — funny how that works, right?
What’s next — practical checks to run
When you evaluate units, try these quick checks: measure airflow at the hood, verify the HEPA rating (H13+ preferred for PM2.5), and look for replaceable carbon cartridges sized for your print volume. Also check for simple status lights — they save time. And yes, test with an inexpensive particle counter if you can. For example, a good 3D printer dust collector that integrates sensors and modular filters will reduce maintenance surprises and improve operator confidence.
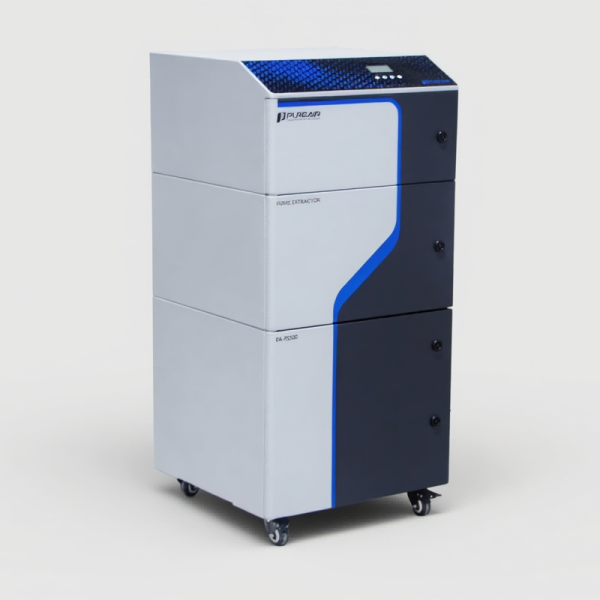
To wrap up, here are three key evaluation metrics I use and recommend: 1) Filtration Efficiency — guaranteed HEPA rating for the particle sizes you care about. 2) Adaptive Airflow Control — sensors that modulate fan speed for low noise and high capture. 3) Total Cost of Ownership — realistic filter lifetime and easy replacements. Weigh those, and you’ll avoid most headaches. I’ve been through the trial-and-error; these metrics saved me time and breathing room. For reliable product lines and practical support, check out PURE-AIR.