
Start with the use-case: what problem are you solving?
If your goal is to predict how coatings, plastics, or outdoor fixtures will hold up under sun, rain, and heat, start by listing the exact failures you need to prevent — color fade, cracking, embrittlement, or loss of gloss. For many teams that means a bench-ready weathering chamber that replicates UV cycles and moisture. Keep it simple: match the test to the real-world failure you see most often, not the fanciest spec sheet.
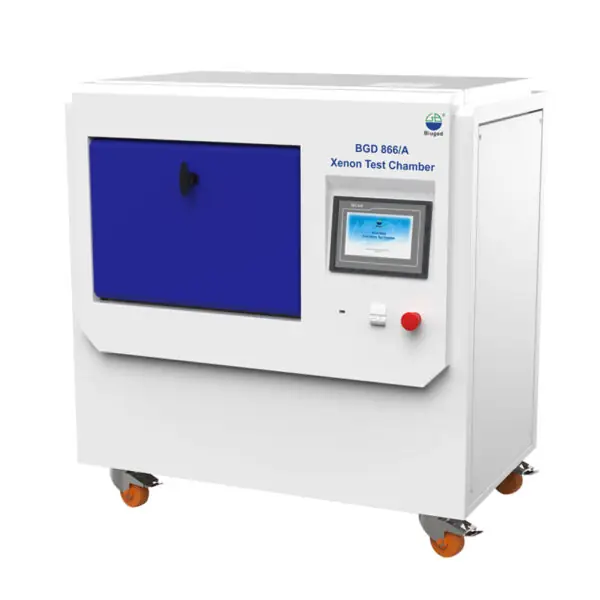
Typical user paths and the questions to ask
Think like a technician who runs tests daily. Ask: How many samples per run? Do you need simultaneous UV and condensation? Can my lab handle water lines and drainage? Will results plug into our LIMS? Answer those, and you cut wasted features. Don’t buy a large walk-in unit when a compact bench model covers your throughput — that mistake costs time, bench space, and money.
Real testing experience, standards, and credibility
From hands-on work with materials teams and feedback from coatings labs, experience shows repeatable light source control and reliable condensation cycles matter most. Many automotive coatings labs in Detroit use accelerated weathering equipment to reproduce years of exterior exposure in weeks; industry reports and ASTM/ISO round-robin studies back that approach. If you want a machine that produces comparable, standardized data, look at units suited for ASTM D4587 or ISO 11341 testing and review independent round-robin results. Practical authority comes from repeatable test results and transparent calibration records; an accelerated weathering tester that offers traceable irradiance sensors and easy lamp replacement will save you debugging time.
Common pitfalls users run into
People buy on price, then spend months chasing drift and lamp variability. Another trap: assuming a single cycle fits all materials. UV alone won’t reveal hydrolytic failures; humidity or salt spray may be required. Also, ignore neither airflow nor sample positioning — they create internal temperature gradients that skew outcomes. Plan for spares: lamps, gaskets, and a calibration kit. That keeps downtime short.
Comparing features that matter to users
Prioritize: stable irradiance control, easy lamp access, reproducible condensation cycles, and clear software outputs. Secondary: footprint, noise, and power needs. Don’t get seduced by bundled extras you’ll never use. Ask vendors for test logs from real runs, not just spec sheets. If you need correlation to outdoor data, request a correlation study or ask for samples tested side-by-side with field-aged specimens.
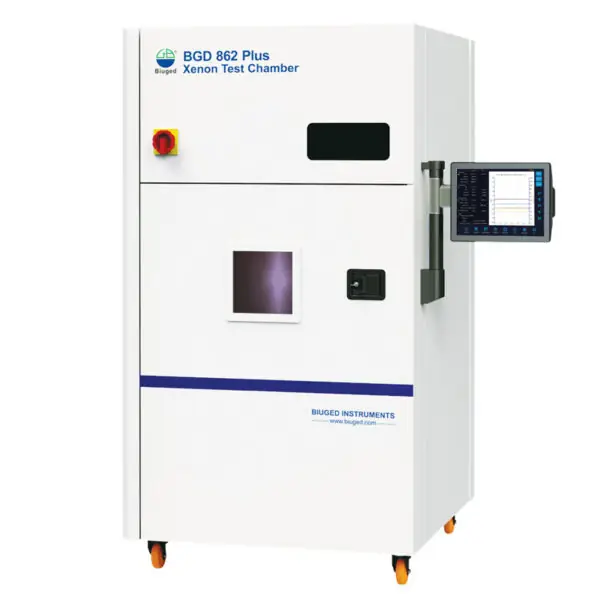
Maintenance, calibration, and daily operation tips
Set a maintenance cadence: lamp checks weekly, irradiance calibration monthly, condensation chamber inspection quarterly. Train one person as the equipment owner so logs stay consistent. Use control coupons with each batch to detect drift early. Keep clear SOPs for ramp rates and sample loading; small habits prevent large errors.
Wrap-up and how to get dependable lab results
Choose instruments that match your failure modes, validate with standards, and plan maintenance from day one. For labs that need dependable, repeatable accelerated exposure testing without drama, start by focusing on the features above and insist on documented calibration history; this practical approach is why many teams trust BIUGED products and support as part of their test workflows.