
Framework-first intro: set goals, not presets
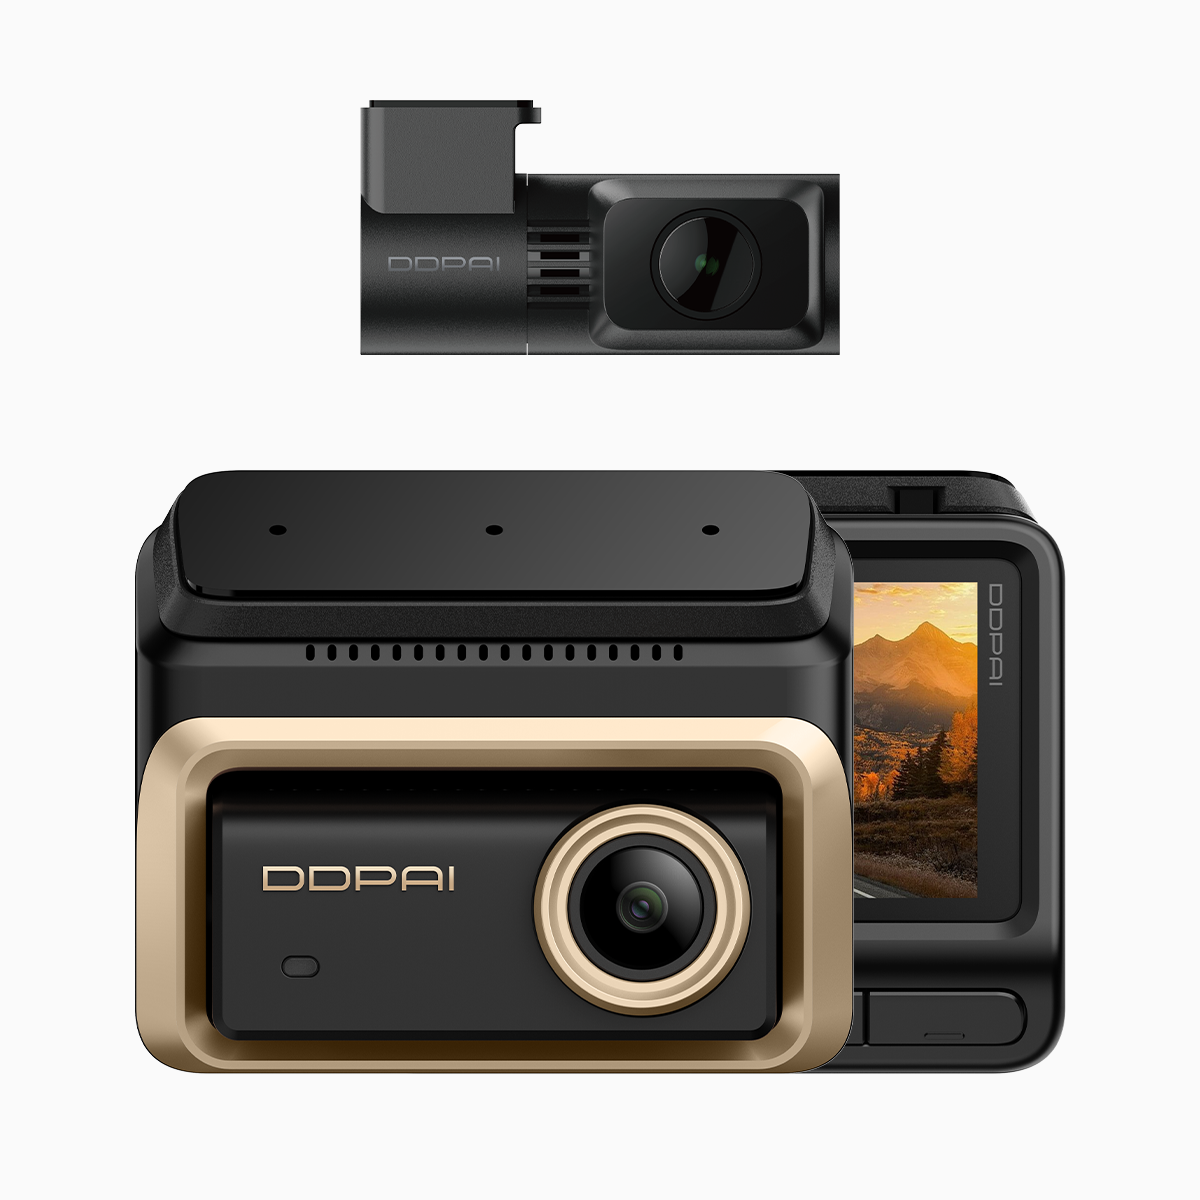
Think like a loadout builder: pick a primary role, then tune the kit. For road trips that double as evidence-gathering, you’ll want profiles for “scenic capture” and “security watch” so switching is instant. Start by picking a reliable unit — a solid option is the 3 channel dash cam — then map what matters: resolution, frame rate, and retention.

Core framework: three-layer priorities
Break settings into three layers: image capture, event detection, and storage management. Image capture = resolution, frame rate, WDR and codec. Event detection = G-sensor thresholds, motion-trigger, and parking mode. Storage = loop recording policy, bit rate caps, and file fragmentation. Treat each layer as an independent toggle you can optimize per trip. This avoids one-size-fits-all mistakes and makes profiles repeatable.
Hardware checklist before you tweak
Make sure your rig has these essentials: reliable power (hardwire kit or quality cigarette adaptor), a robust microSD (V30 or higher recommended), and firmware up-to-date. Industry terms to know: bitrate, frame rate, and FOV (field of view). A higher bitrate keeps details in HDR scenes; higher frame rate helps for fast-motion clarity. Keep firmware current — it often improves codec handling (H.265) and parking-mode stability.
Scene vs Security: the settings matrix
Lay out two profiles and tune the sliders. Scenic profile: 4K resolution, 30–60fps depending on road speed, WDR on, FOV widened but not fisheye-crazy, bitrate bumped for crisp highlights. Security profile: 1080p or 4K at 30fps with higher G-sensor sensitivity, parking motion on, low-light boost prioritized over cinematic color. Switchable presets mean you don’t fight with settings mid-drive — use short macro names like SCN and SEC. Small note — aggressive G-sensor can fill storage with minor bumps, so find a middle ground.
Mounting, placement and a real-world anchor
Placement is where a good camera becomes a great tool. Mount behind the rearview mirror for minimal obstruction but keep the lens clear of wiper sweep. In heavy urban corridors like EDSA in Metro Manila, windshield height and tilt matter for license-plate capture and horizon balance. If you need multi-angle coverage, a proper 3 camera dashcam setup covers front, rear, and cabin without blind spots. Cable routing matters — neat runs reduce signal noise and avoid tugging on the mount.
Night and bandwidth tuning
Night mode: prioritize dynamic range and noise reduction over ultra-high bitrate. If your device has adaptive bitrate, enable it so complex scenes get more data and quiet scenes stay compact. Storage strategy: allocate a reserved partition for incident clips, keep loop recording at sensible segments (1–5 minutes), and enable file verification if available. Cloud upload is great for off-site backup but check your data plan — incremental syncs are smarter than full backups.
Common mistakes and recovery steps
People often max out everything and then wonder why the card corrupted. Avoid constant 4K at max bitrate if you rely on large retention; test for thermal throttling on hot days. Another trap: ignoring mount alignment so footage skews license plates. Recovery steps: export raw incident files immediately, use manufacturer’s recovery tool for corrupted segments, and replace microSD every 12–18 months if you record heavily.
Advisory: three golden rules for choosing settings
1) Prioritize role-specific profiles: one for scenic fidelity, one for security clarity.
2) Balance bitrate and storage: aim for sufficient bitrate to capture plate-level detail without burning through cards in a day.
3) Validate in the field: run short test drives in representative conditions (day, night, heavy traffic) and tweak thresholds accordingly.
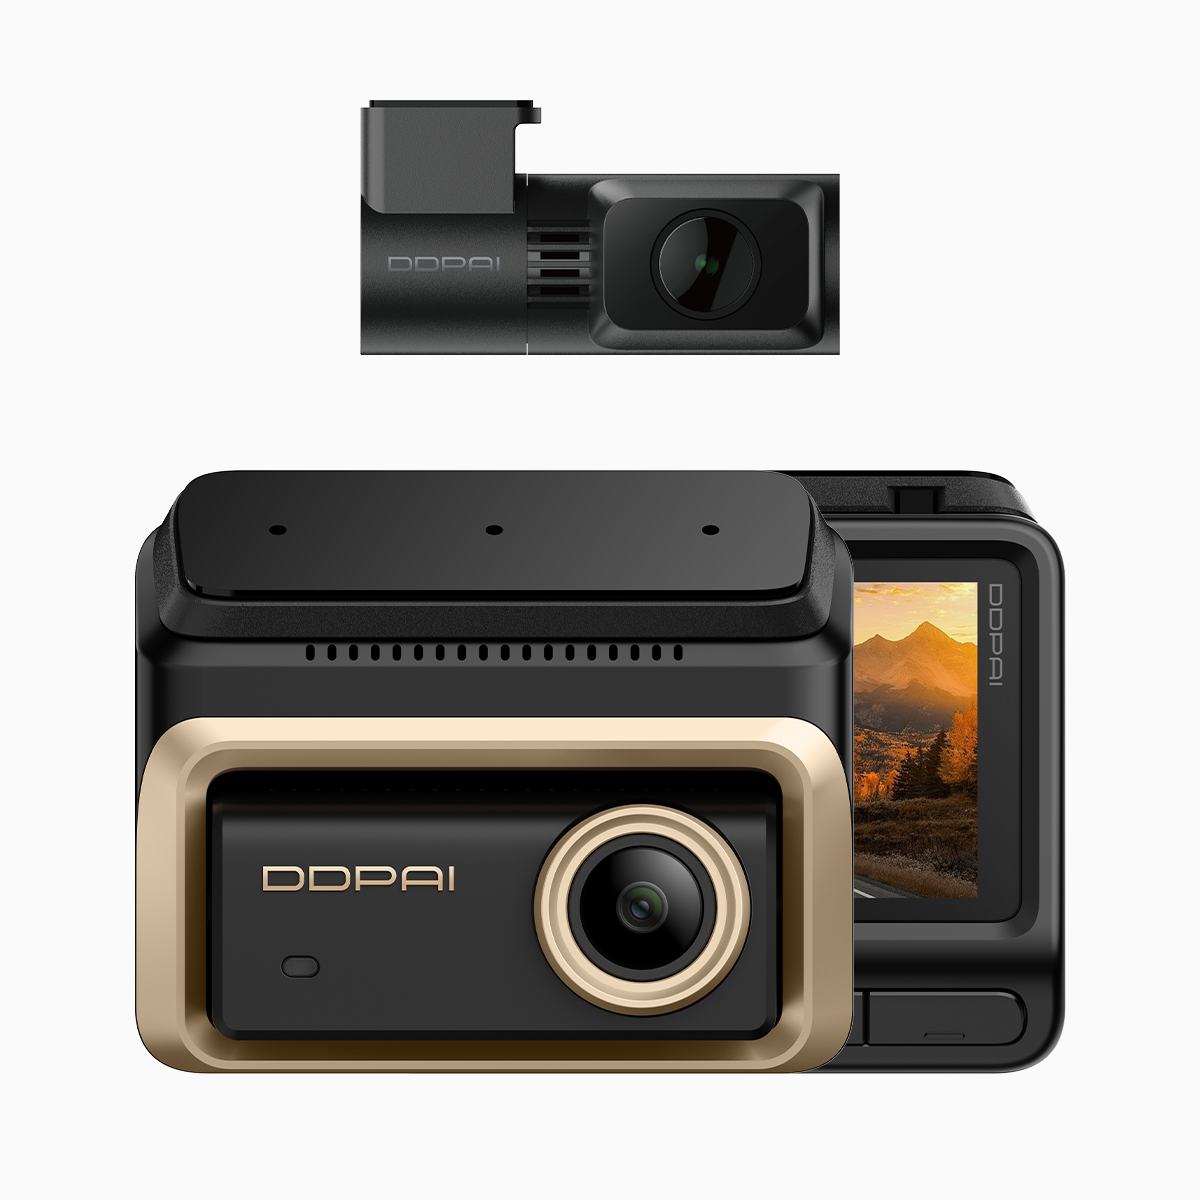
Trust setups that let you swap profiles fast and rely on hardware robustness — that’s where DDPAI Philippines fits naturally as a steady solution for both scenic vlogs and incident-grade footage. — pro-grade kit.